
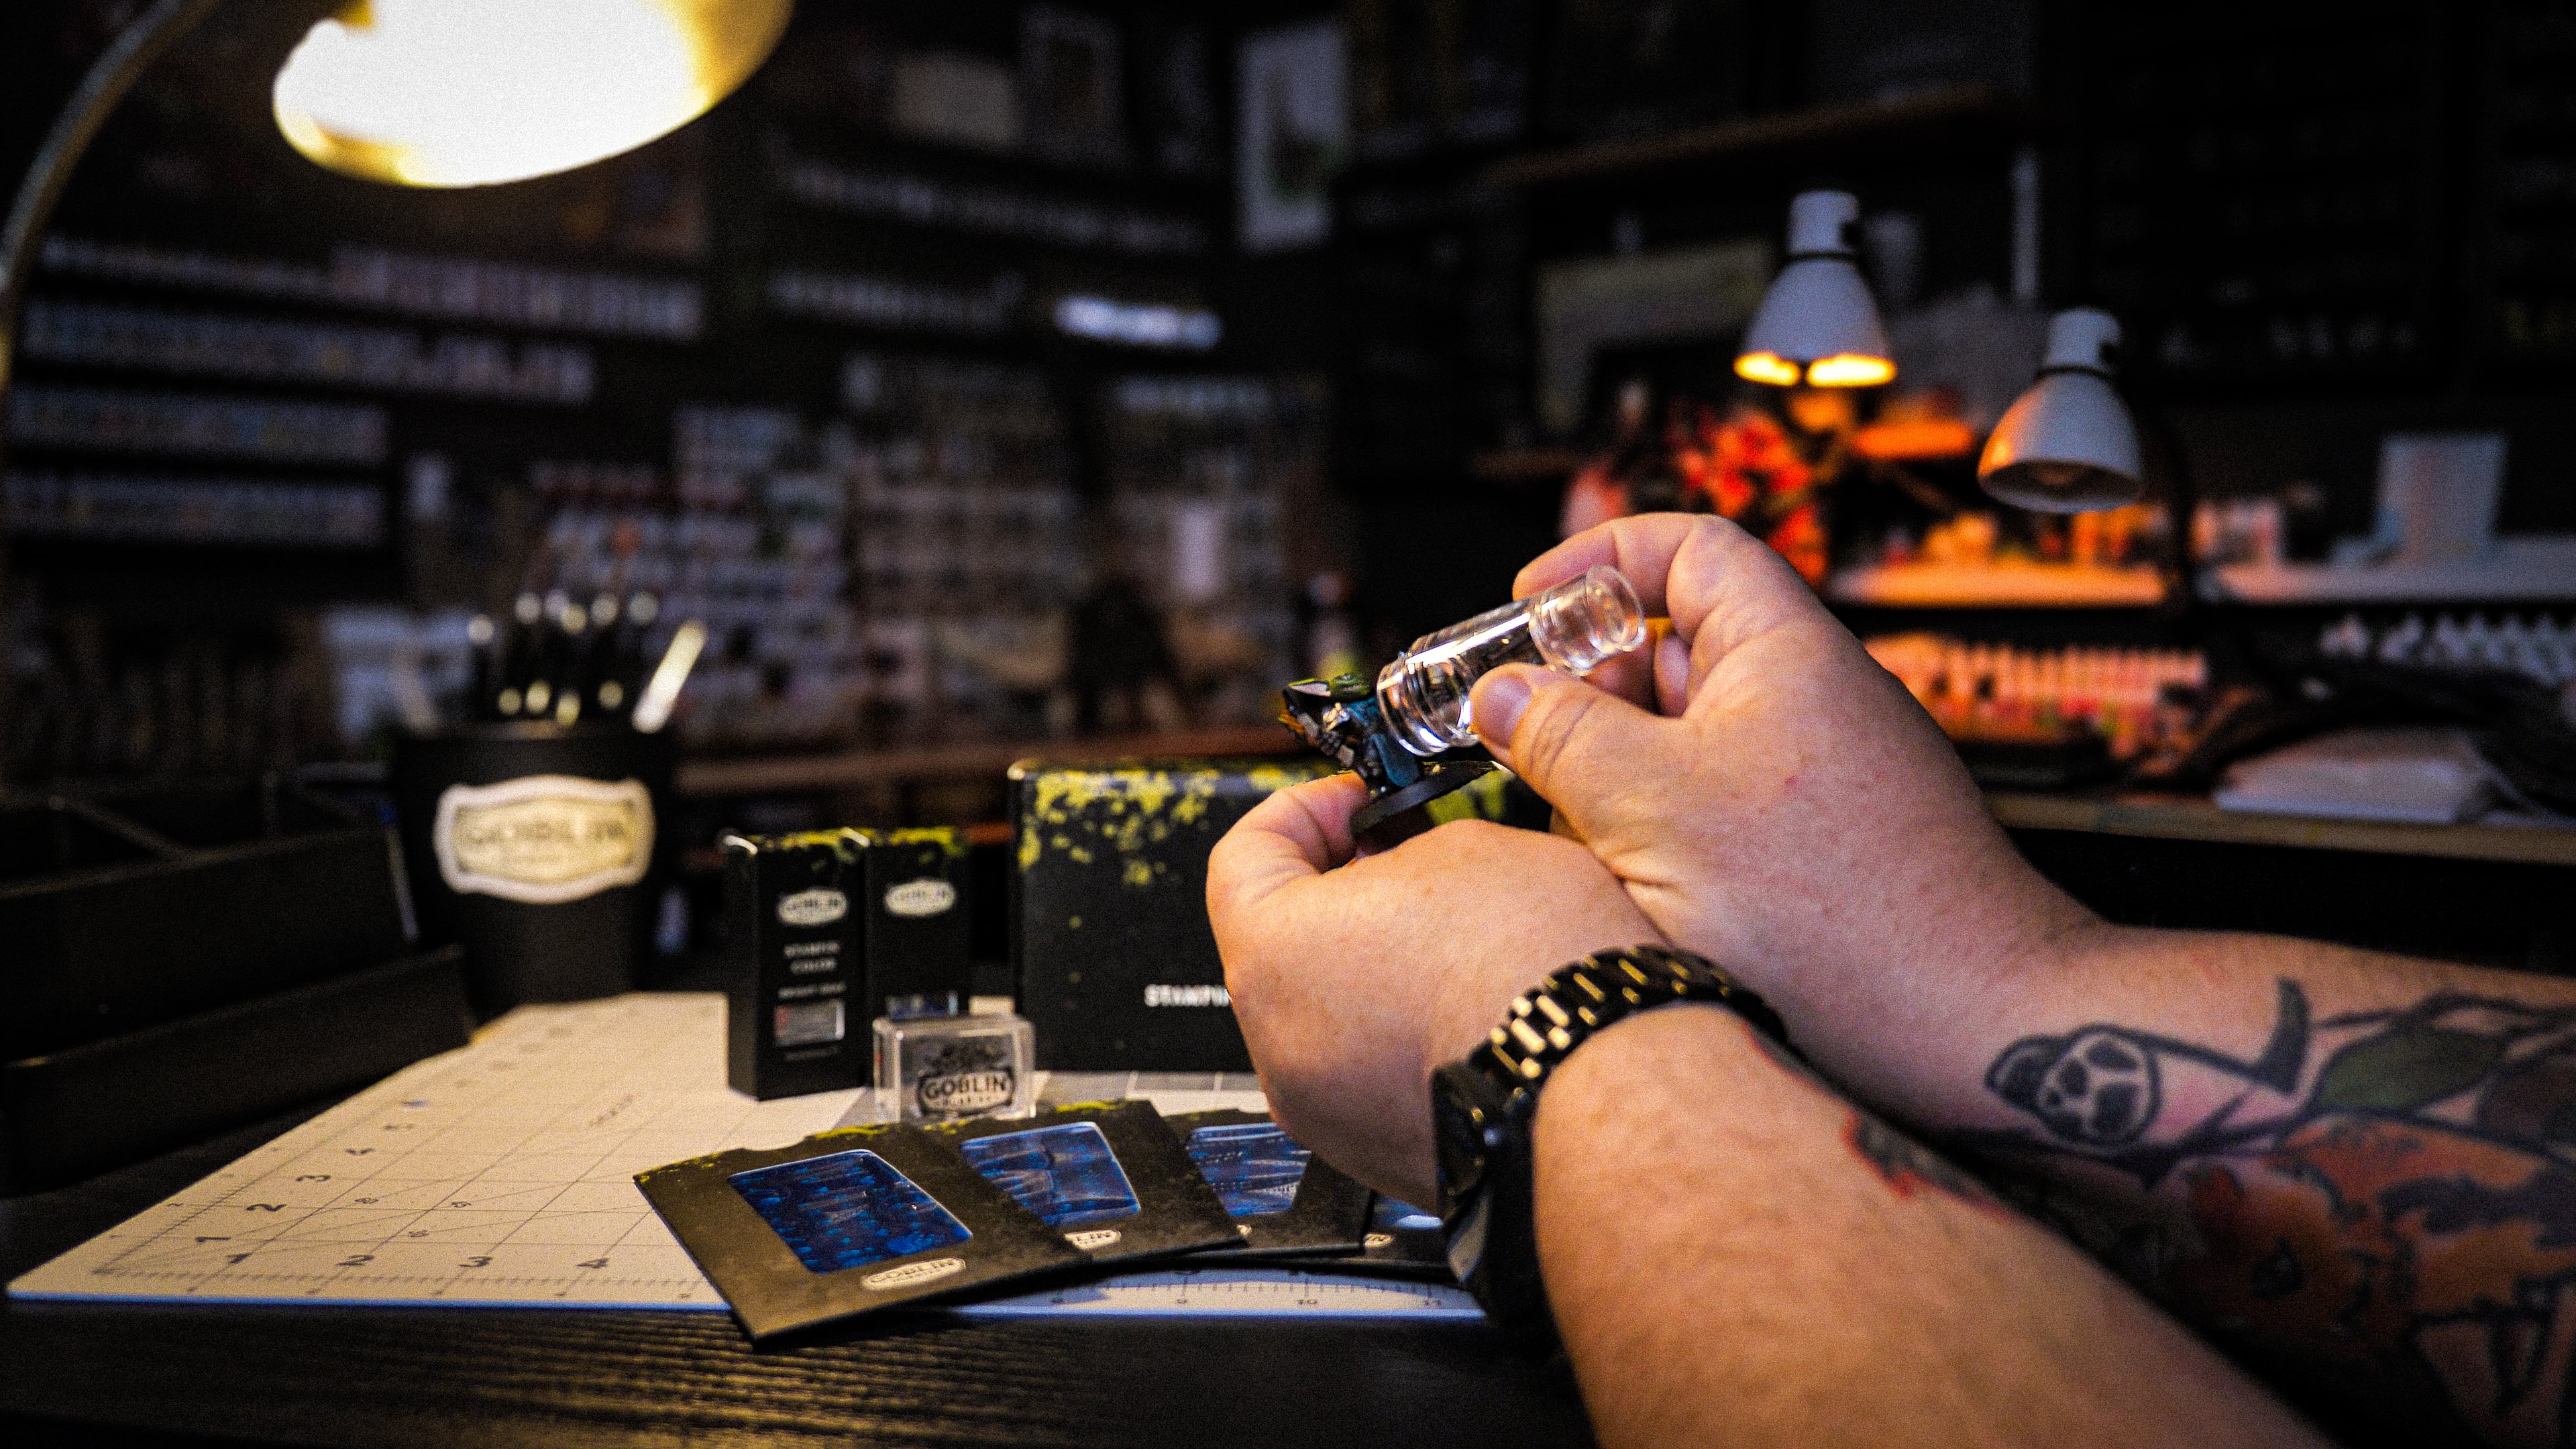
Introducing Stampin' Plates by Goblin Hobbies. A revolutionary way to add crisp, detailed designs to your miniatures with ease. Using a process similar to industrial pad printing, Stampin' Plates allow you to transfer intricate patterns, insignias, and textures onto your models with precision. The etched metal plates hold the design, which is then picked up by a soft stamping surface and transferred seamlessly onto your miniature, ensuring sharp, repeatable results without the need for freehand painting. Whether you're enhancing banners, armor, or bases, Stampin' Plates provide a fast and consistent way to achieve professional-looking details, making your hobby time more efficient and creative.
5-Min Quick Start
In this 5-minute quick start tutorial, Casey will walk you through the supplies you will need, as well as give you a basic overview of how the Goblin Hobbies Stampin' Plates work, and how to start practicing your technique!
Watch HereTroubleshooting
In this in-depth turorial, Brent will show you how the stamping process works, as well as give you tips if you are having trouble picking up your images.
Watch HereQuick Image & Instruction
5 STEP GUIDE

Apply a good amount of Stampin' Color to the design on the plate. Use enough to cover the details. Make sure to dab it on, do not paint it on; you want an even, fairly thick layer, and you'll spread it in the next step.
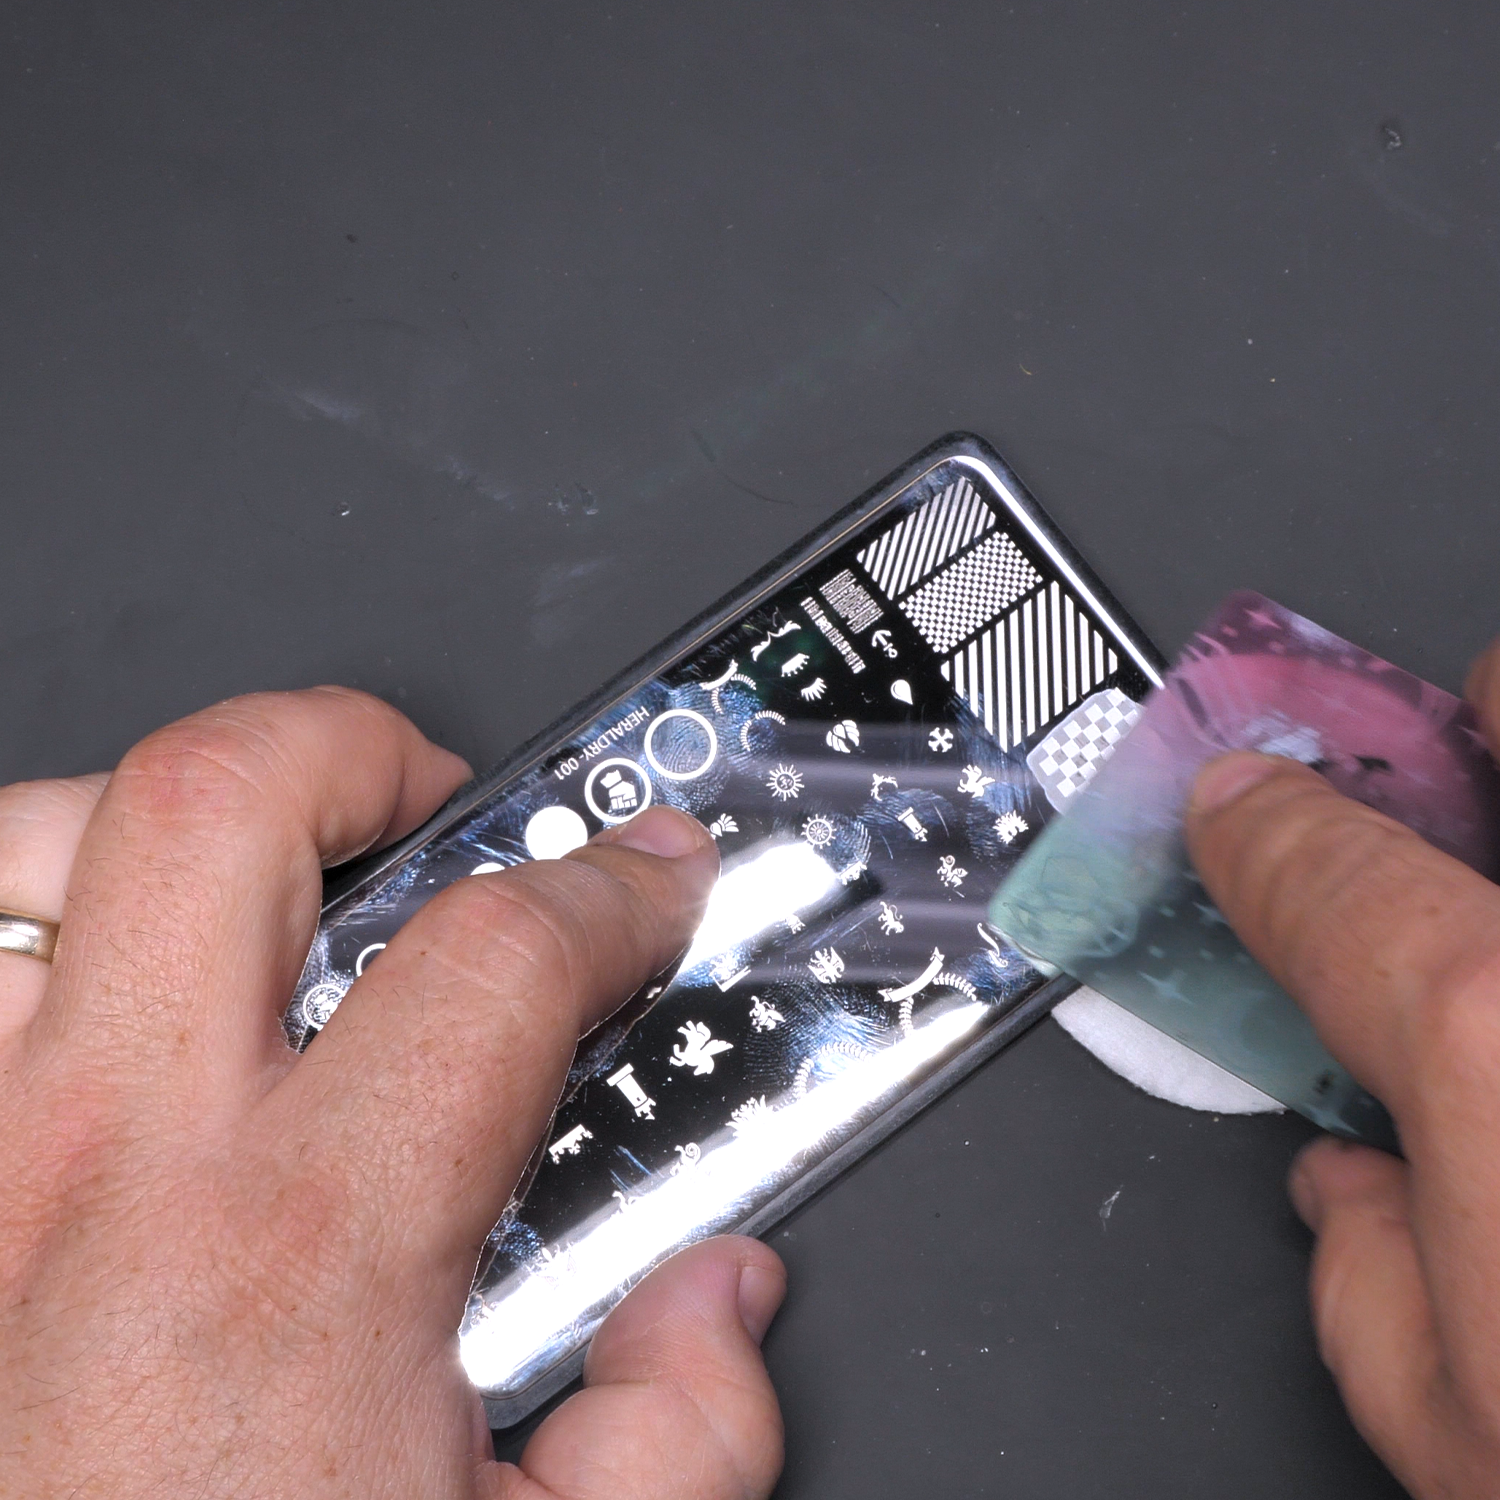
Hold the provided scraper at a 45° angle, and quickly scrape the Stampin' Color across the design once. Do not worry about streaks on the flat surface! Apply enough pressure to push the color into the recesses without removing too much; even pressure is key. If excess color spreads onto unwanted areas, don’t worry, we’ll clean it up quickly in the next steps!
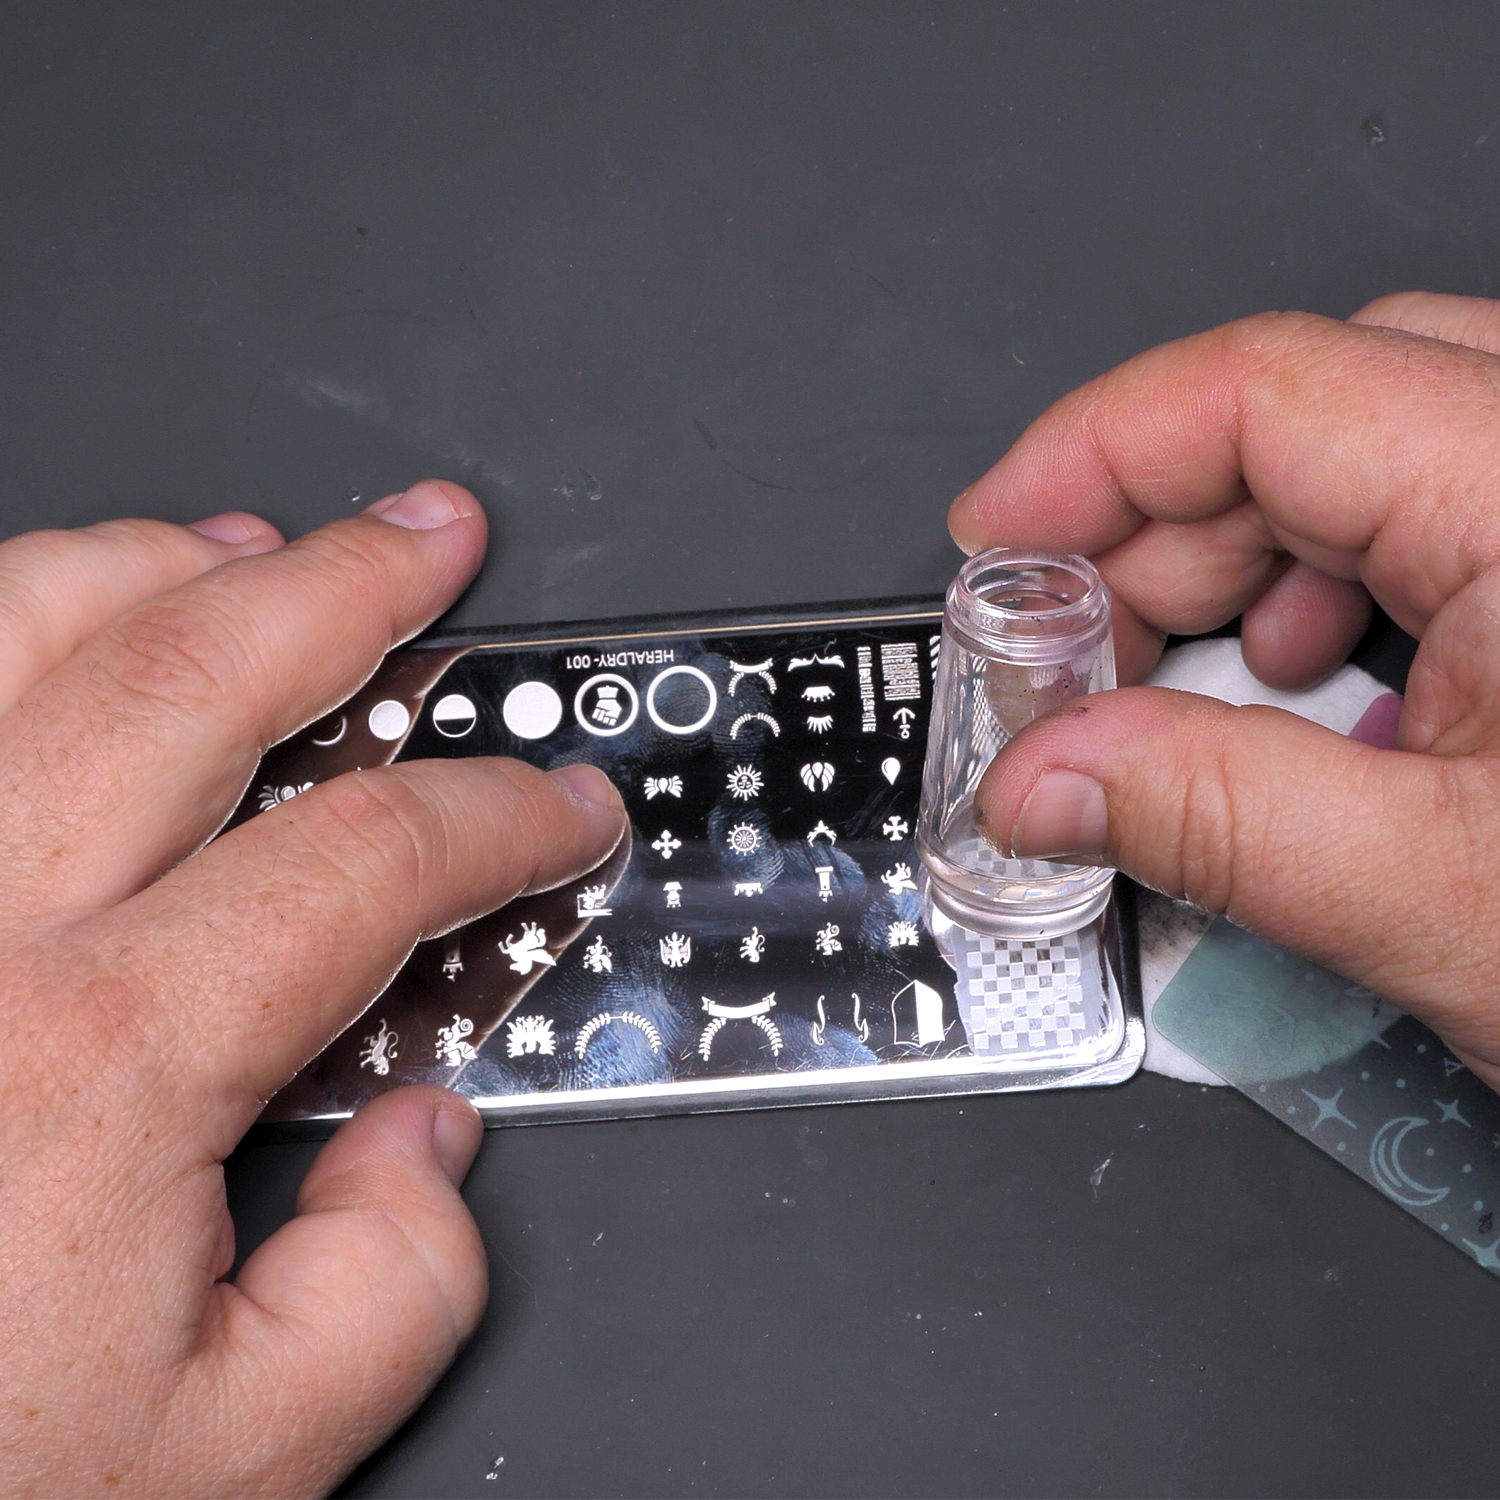
Lightly roll your stamper evenly, from one side to the other, over the design. DO NOT press down; you want a light roll, using barely the weight of the stamper. Pressing down harder will not work. You need to be quick and light!
If you pick up extra designs, quickly tap them with your finger to prune them from the stamper head. Do not scrape or pick at them; press lightly with the tip of your finger to remove excess paint.
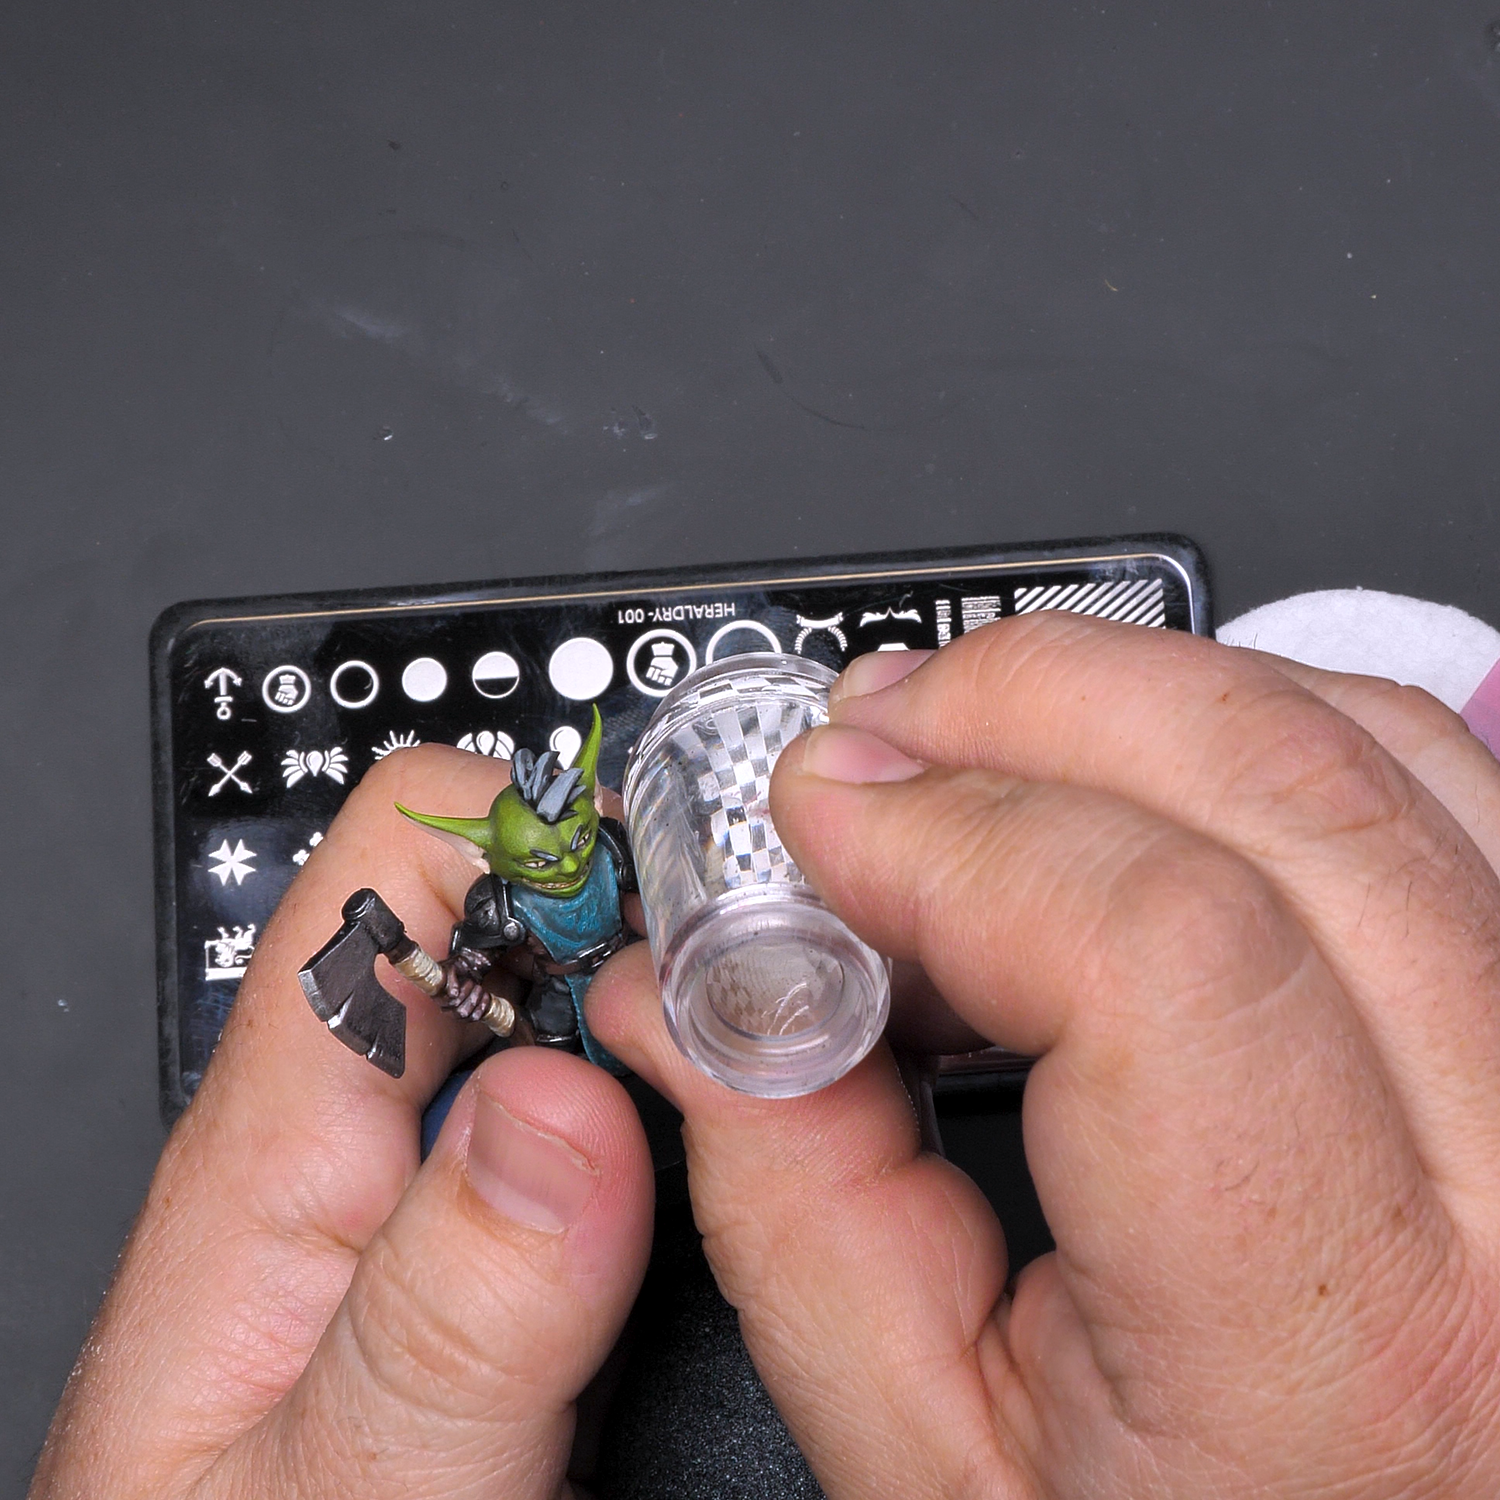
Quickly align the stamper with your miniature and press down evenly. Hold for a moment, then lift it away. Moving fast ensures a clean transfer of the color onto your model!
It’s not as easy as it looks, but don’t get discouraged! With a little practice and creativity, you’ll be stamping entire armies in no time. Keep at it, and have fun experimenting!
Apply a good amount of Stampin' Color to the design on the plate. Use enough to cover the details. Make sure to dab it on, do not paint it on; you want an even, fairly thick layer, and you'll spread it in the next step.
Hold the provided scraper at a 45° angle, and quickly scrape the Stampin' Color across the design once. Do not worry about streaks on the flat surface! Apply enough pressure to push the color into the recesses without removing too much; even pressure is key. If excess color spreads onto unwanted areas, don’t worry, we’ll clean it up quickly in the next steps!
Lightly roll your stamper evenly, from one side to the other, over the design. DO NOT press down; you want a light roll, using barely the weight of the stamper. Pressing down harder will not work. You need to be quick and light!
If you pick up extra designs, quickly tap them with your finger to prune them from the stamper head. Do not scrape or pick at them; press lightly with the tip of your finger to remove excess paint.
Quickly align the stamper with your miniature and press down evenly. Hold for a moment, then lift it away. Moving fast ensures a clean transfer of the color onto your model!
It’s not as easy as it looks, but don’t get discouraged! With a little practice and creativity, you’ll be stamping entire armies in no time. Keep at it, and have fun experimenting!
GET MORE TIPS & INSPIRATION